I decided my first Cake Stacking post needed a follow up. 🙂

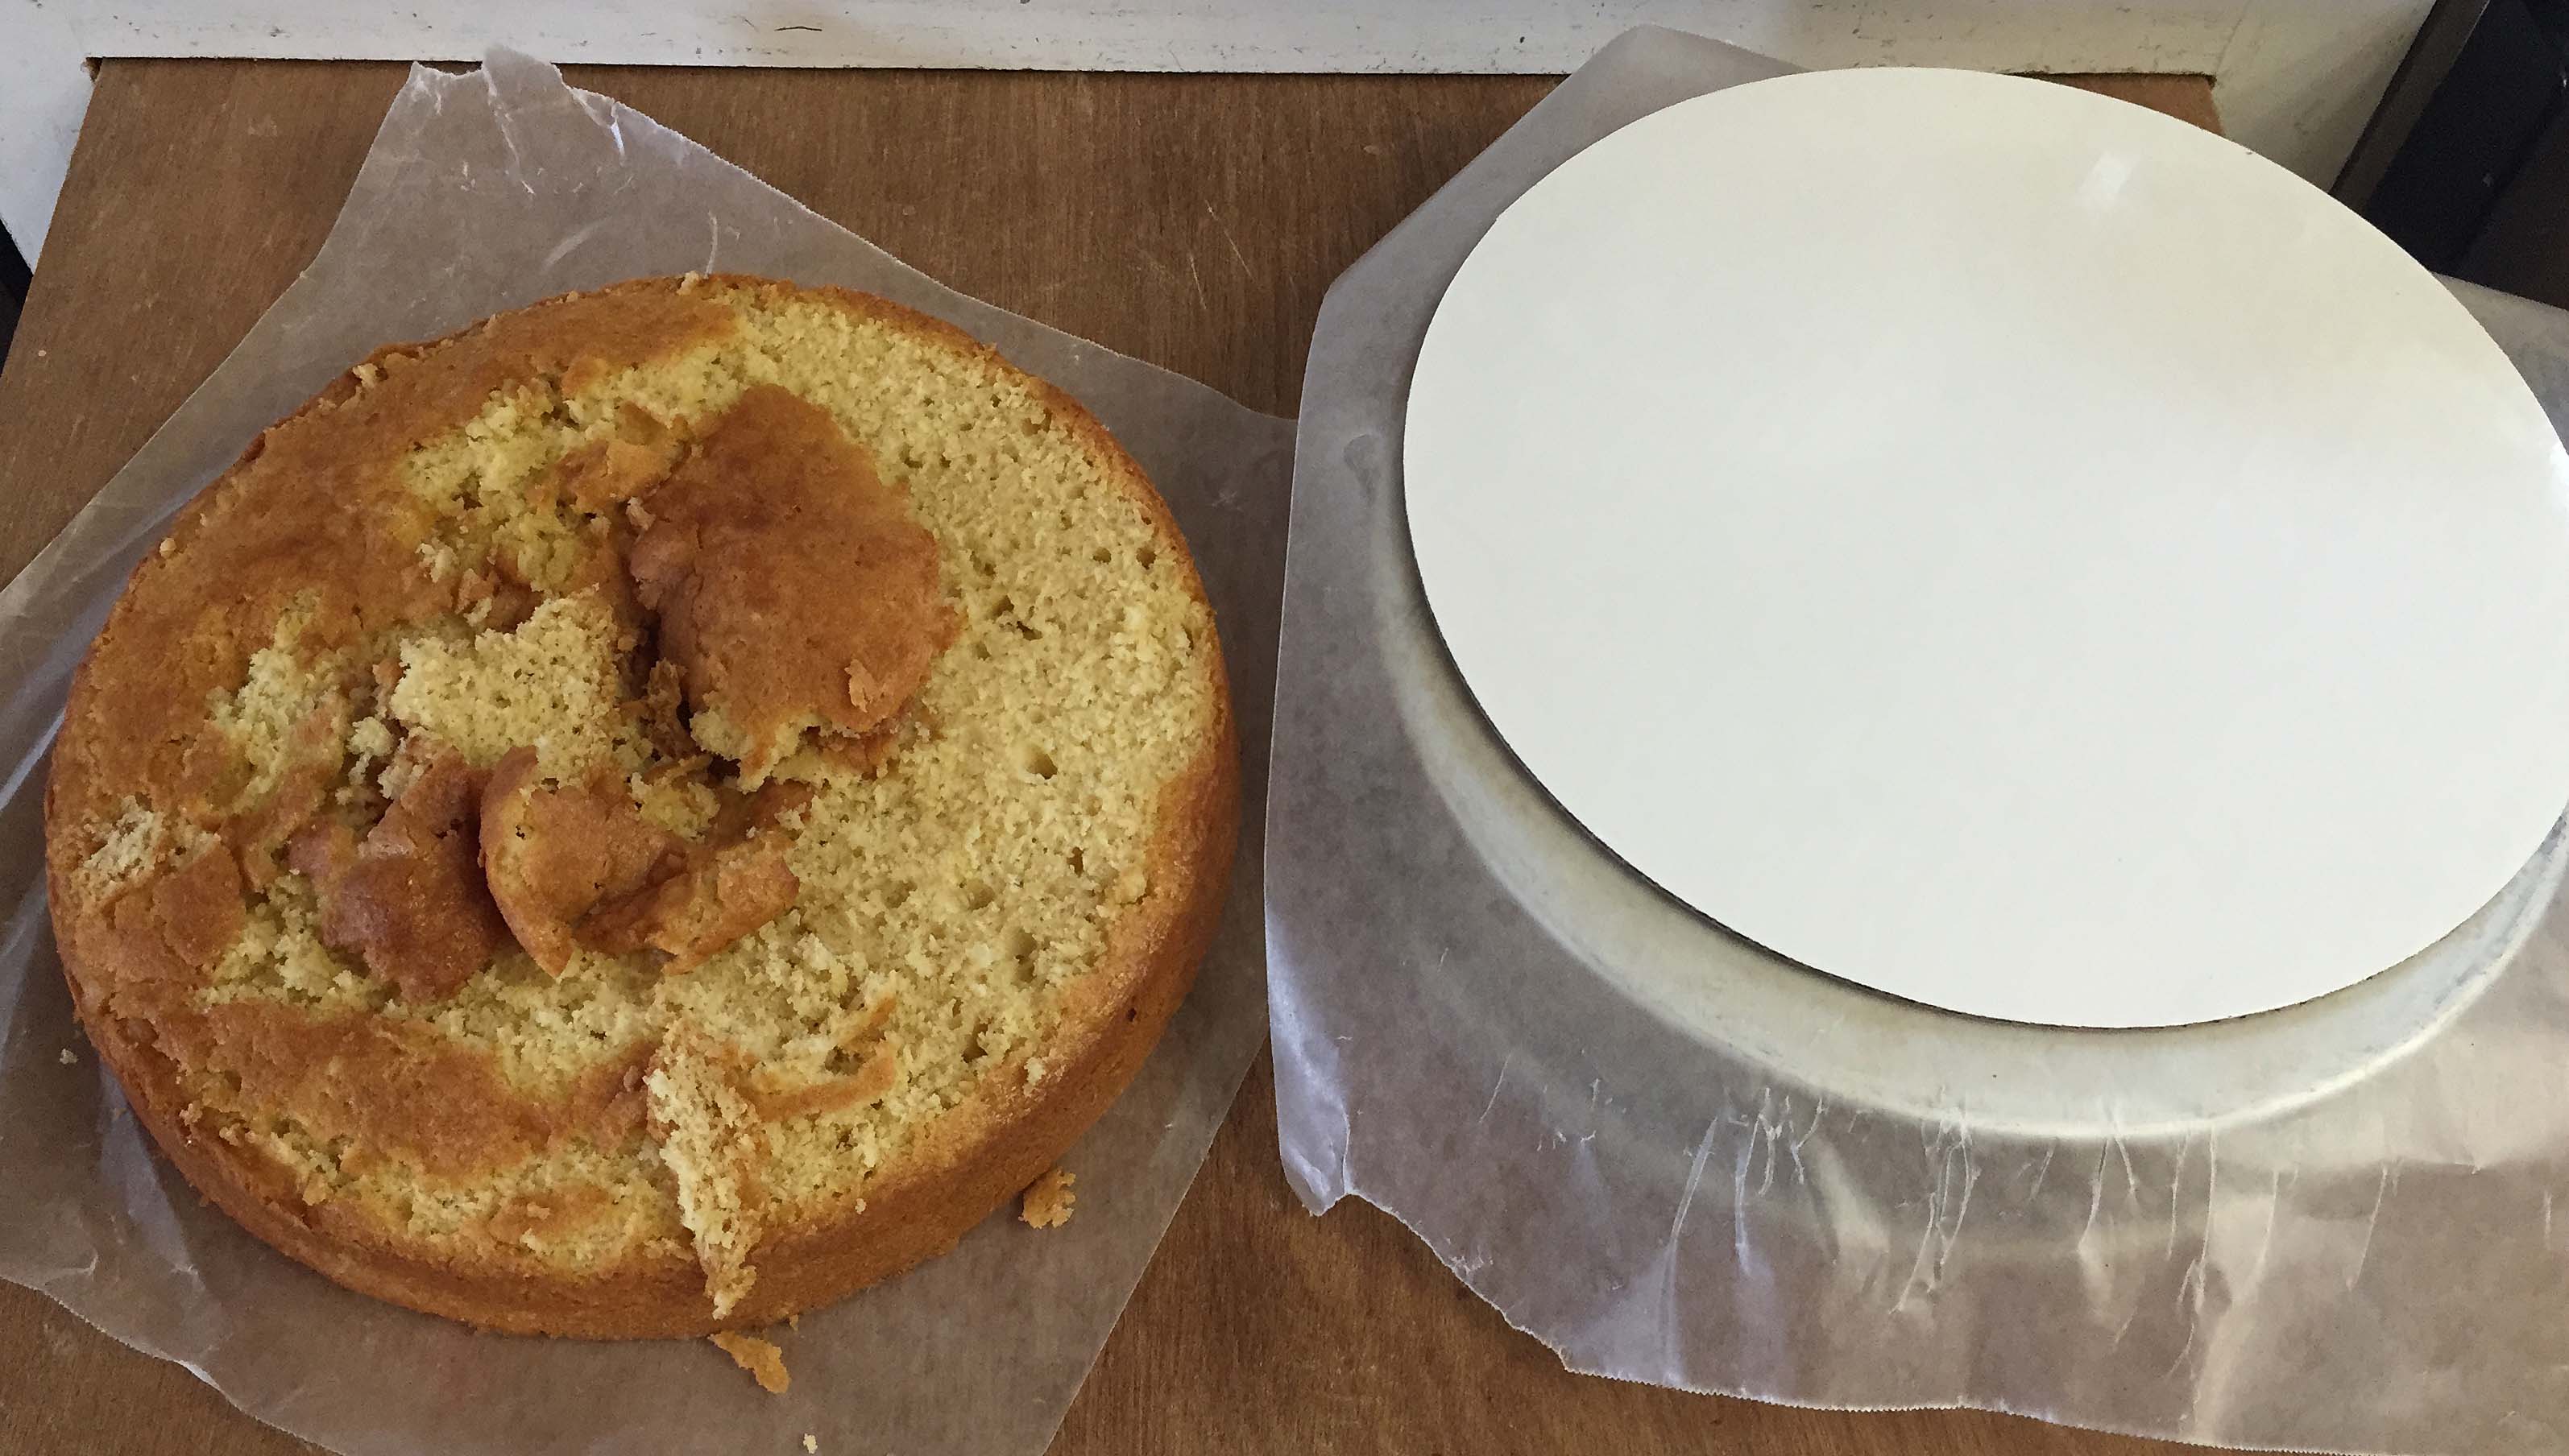
When I am getting ready to stack I level each layer (look at that yumminess I’m cutting off the top) and then place the bottom layer on a cake board, even if its the bottom tier. Using a cake board helps your cake set up straighter and then it will give you an edge to work with as you are frosting. I like my tiers to be set really well before I start stacking so build each one on a piece of wax paper that is set on top of a cake pan (The wax paper will make it easier to lift off later.)

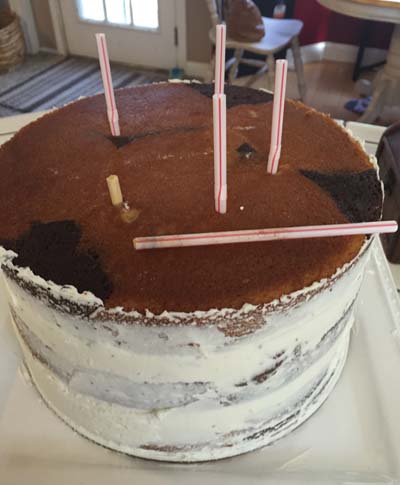
Once the tier is built I stick straws in- just to keep it from sliding at all. Later I will pull those straws out (or just cut them down if its a one tier cake) and replace them with dowels or more straws, but I wait until the cake is settled before measuring those supports. Then I stick it in the fridge to CHILL! I always keep my cakes cold for stacking and decorating. Everything just goes better!

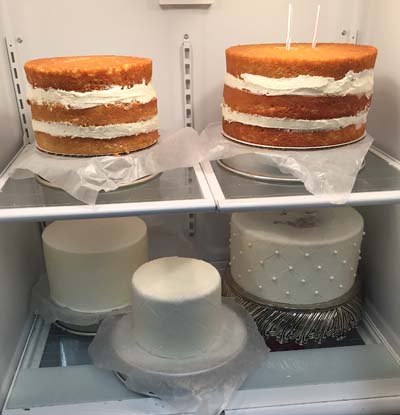
Once the tier is nice and cold, I place it on a larger cake pan, still on wax paper, so that I have room to add frosting. (Here’s my Smooth Frosting tutorial.) You can see in the photo above that the tiers ready to stack (bottom shelf) are all on larger pans.

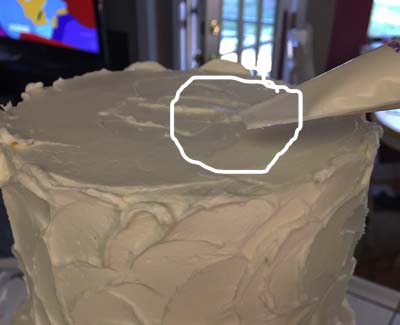
When it’s time to stack I spread a THIN layer of icing, set the next tier on, and then use a frosting bag that has a tiny opening cut to pipe in the spaces between the cake board and the cake. (I’ll take a better pic a post it soon.)