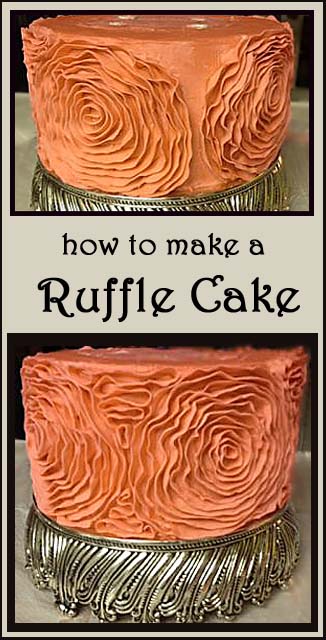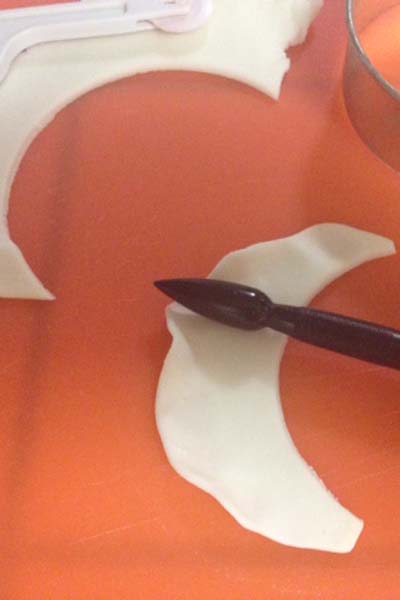
This is one of my favorite looks. It takes a lot of patience, and one strip of fondant at a time! I built and stacked the layers,frosted them, and let them sit in the refridgerator to set for a few hours. Then I pulled up a stool and got to work. I rolled out a piece of fondant on a mat and covered it with plastic wrap so I could keep going back to cut my strips. I rolled it thin but not too thin, because once I cut my strips I needed to have enough fondant to “ruffle” on one side. I cut C shaped strips, about 1/2″ wide, with this Wilton Decorate Smart Fondant Trimmer
and used a rounded tool (from my set just like thisWilton 1907-1107 Set of 10 Gum-Paste Modeling Tools with Storage Case) on one side of the strip, stretching it out a little to make my ruffle.


The thicker side I applied to the cake, folding it over just a tiny bit so there was a base to attach it with. I used the little tiny ball on one of the tools from the set to press underneath the ruffles to shape them how I wanted. Because I wanted to ruffles to dry quickly I rolled a little gum paste powder (Wilton Gum Paste Mix) into the Fondant just as I was rolling it out.
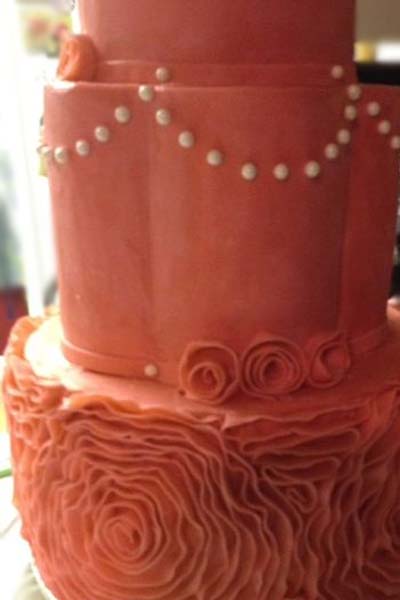
I love the color! Usually I make white wedding cakes but this was a fun change. The side ruffle on the bottom tier was my favorite, such a gorgeous look! I made sure I had plenty of fondant colored, the last thing I wanted to do was run out because it is really difficult to re-dye and try to match a color exactly. The nice thing about this ruffle is that it looks like one continuous strip but is easy to keep adding to it without the seams showing.